How to Gravel a Driveway Properly
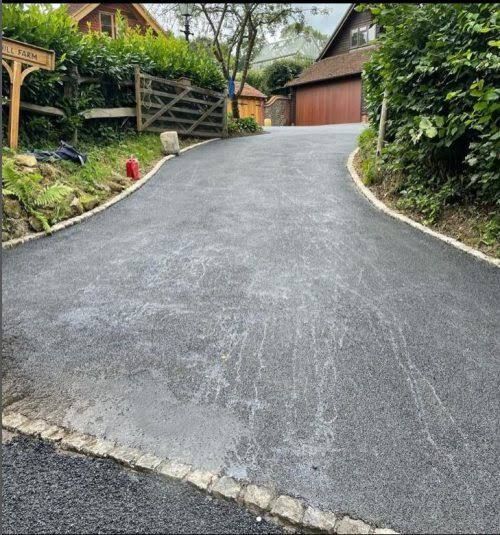
A gravel driveway can create a smart, practical and welcoming entrance to your home. It can also cost less than many concrete, block paving or tarmac surfaces. However, the final result depends heavily on how well the ground is prepared.
Simply spreading loose gravel over soil will not produce a strong driveway. The stones may sink, weeds may appear, puddles may form and the gravel may move towards the road or garden. Proper excavation, drainage, edging, base preparation and compaction are essential.
This guide explains
how to gravel a driveway from the first measurement to the final layer. It also covers the right gravel depth, suitable materials, maintenance, cleaning and local driveway care for properties in Bradford, Bingley, Shipley, Keighley and Pudsey.
Quick Answer
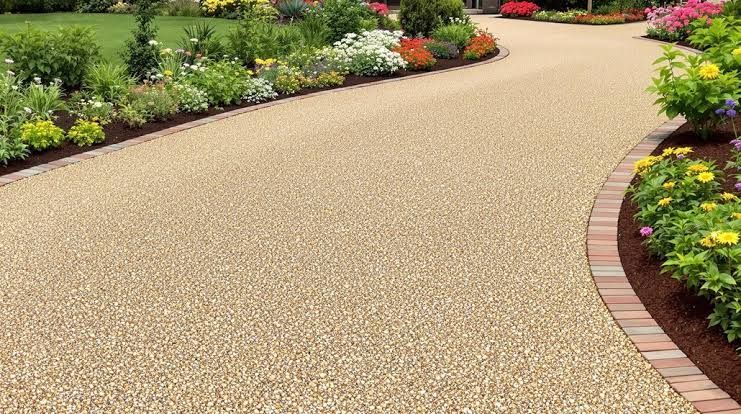
To gravel a driveway properly, mark the area, remove soil and old material, clear weeds and roots, check the drainage and install strong edging. Lay a suitable ground membrane, add a compacted MOT Type 1 base and finish with angular driveway gravel.
For most domestic driveways, the complete construction depth may be around 150 to 200 mm, depending on the soil, drainage and expected vehicle weight. The decorative gravel layer is normally around 40 to 50 mm deep.
The most important part of learning
how to gravel a driveway is understanding that the visible gravel is only the finishing layer. The strength of the driveway comes from the prepared ground and compacted sub base underneath it.
Is Gravel Right for Your Driveway?
Gravel is suitable for many homes, but it is important to consider how the driveway will be used before choosing it.
A gravel driveway can work well for detached homes, cottages, rural properties, rental homes and houses with larger front gardens. It can provide useful drainage and can be repaired more easily than some solid surfaces.
Gravel is also available in many sizes and colours. This makes it easier to match the driveway with the brick, stone, render, garden walls and general character of the property.
Benefits of a Gravel Driveway
One major benefit is cost. Gravel can be more affordable than installing a completely new block paved or concrete driveway.
Water can also move through the gaps between the stones when the surface and base have been installed correctly. This may reduce standing water and surface puddles.
Small damaged areas can normally be repaired without replacing the entire driveway. Fresh gravel can be added, low areas can be filled and loose sections can be compacted again.
Gravel also makes a noticeable sound when people or vehicles move across it. Some homeowners appreciate this because it can help them notice activity outside the property.
Possible Disadvantages
Gravel is not completely maintenance free. Loose stones can move towards the pavement, road, lawn or flower beds. Regular raking may be needed to keep the surface level.
Weeds can also grow where soil, leaves and seeds collect between the stones. A membrane can reduce weed growth from below, but it cannot stop seeds landing on the surface.
Snow clearance can be more difficult because a shovel may pick up gravel. Wheelchairs, pushchairs and bicycles can also be harder to use on deep or loose stones.
Steep driveways need careful planning. Gravity, rainwater and vehicle movement can push gravel downhill. A stabilisation grid or alternative surface may be more suitable for a strong slope.
Tools and Materials Needed
Before starting, gather the equipment needed for excavation, levelling and compaction. Having everything ready makes the work safer and more organised.
Common tools include a tape measure, wooden pegs, string line, shovel, spade, rake, wheelbarrow, spirit level and protective gloves. A landscaping rake is useful for spreading gravel evenly.
For larger driveways, a mini digger may be needed to remove soil and old material. A skip or grab collection service may also be required because excavation can produce a surprising amount of waste.
A vibrating plate compactor is essential for creating a stable base. Hand tamping may be suitable for a very small path, but it is rarely enough for a driveway that will carry vehicles.
The main materials normally include:
- MOT Type 1 sub base material
- A suitable ground membrane
- Driveway edging
- Angular decorative gravel
- Landscape pins
- Drainage materials where required
- Gravel stabilisation grids if needed
The quantity of material will depend on the driveway size and planned depth. Measure the length and width in metres, then multiply them to find the area.
For example, a driveway measuring 10 metres long and 4 metres wide has an area of 40 square metres. You can then calculate the required volume using the planned depth.
It is sensible to order a little extra material. This allows for compaction, uneven ground and future topping up.
How to Prepare the Driveway Area
Good preparation is the foundation of a durable gravel driveway. Rushing this stage may lead to movement, sinking and poor drainage.
Start by measuring the complete area. Mark the outline using pegs and string. Check that the driveway will be wide enough for vehicles, doors and safe movement around parked cars.
A single car driveway normally needs enough width for the vehicle and additional space for people to get in and out safely. Wider turning areas may be needed where the driveway meets a narrow road or wall.
Before digging, check for underground pipes, electrical cables, drainage lines and other services. Never assume the ground is completely clear.
Look at how rainwater currently moves through the area. Water should be directed away from the house, garage and neighbouring property. A gravel surface can help with drainage, but it cannot correct every drainage problem.
If the land naturally slopes towards the building, a drainage channel or soakaway may be needed. Local rules and site conditions should be checked before directing water towards a public drain.
Excavate the Area
Remove the existing turf, soil, broken paving, loose rubble and unstable material. The required excavation depth will depend on the condition of the ground.
Soft soil may need deeper excavation than firm, stable ground. Areas that have previously held vehicles may already contain some compacted material, but it must still be inspected.
Remove all soft patches. Filling over weak ground can create low areas later. Vehicle tyres repeatedly passing over these spots will press the gravel and base down.
The bottom of the excavated area is called the formation level. It should be reasonably even and shaped to support drainage.
Create a Suitable Fall
A driveway should not be perfectly flat if this causes water to collect. A slight fall can help move rainwater towards a safe drainage point.
The fall should direct water away from buildings. However, the surface should not be so steep that gravel moves every time it rains or a vehicle brakes.
Use a string line and spirit level to check the ground. For larger or more difficult areas, professional surveying equipment may be helpful.
How to Remove Weeds and Old Debris
Weeds, roots and organic waste must be removed before installing the base.
Pulling off the visible leaves is not enough. Dig out the roots, especially from strong perennial weeds. Roots left under the driveway may continue growing and can disturb the surface.
Remove grass, moss, leaves, old soil and decaying plant material. Organic matter breaks down over time and creates soft spaces underneath the driveway.
If the area contains an old gravel driveway, do not automatically cover it with fresh gravel. First remove leaves, soil, weeds and contaminated material. Check whether the old base is firm enough to remain.
A weed treatment may be used where appropriate, but always follow the product instructions. Consider nearby lawns, plants, pets, drains and water sources.
Allow the area to clear before placing the membrane and sub base. The ground should be free from loose waste and obvious plant growth.
Does a Membrane Stop All Weeds?
A good membrane helps reduce weeds growing from the soil below. It also separates the base material from the ground and can reduce the movement of fine soil into the stone.
However, it will not stop every weed. Seeds can land on top of the driveway and grow in dust, leaves and soil trapped between the stones.
Regular sweeping, raking and debris removal are still important. Keeping the surface clean gives weeds less material in which to grow.
Install Strong Driveway Edging
Edging keeps the base and decorative gravel inside the driveway. Without a solid border, loose material can spread into paths, gardens and roads.
Suitable edging may include concrete kerbs, stone setts, treated timber, brick or metal edging designed for driveways.
The chosen edge must be strong enough to resist vehicle weight. Lightweight garden edging is not normally suitable where car tyres may press against it.
Install the edging before placing the final gravel. It should be secured on a suitable foundation and positioned at the correct height.
The finished edge should contain the gravel without creating a difficult step. It should also allow water to move towards the planned drainage area.
At the entrance, consider installing a firm threshold or gravel retention strip. This reduces the amount of stone carried onto the pavement or road by vehicle tyres.
How to Create a Strong Base
The base carries the weight of vehicles and helps prevent sinking. It is the most important structural part of the driveway.
After preparing the formation level, lay the geotextile membrane across the ground. Overlap separate sections so there are no large gaps. Secure the membrane with landscape pins where necessary.
The membrane should lie flat without major folds. Take care not to damage it while moving stone across the area.
Add MOT Type 1
MOT Type 1 is commonly used as a compacted sub base for driveways. It contains a mixture of stone sizes and fine particles. When compacted correctly, the material locks together and creates a firm layer.
Spread the material in manageable layers. Do not place one very deep layer and expect the compactor to compress it properly.
A useful approach is to place approximately 50 to 75 mm at a time, level it and compact it before adding more. The correct method may depend on the compactor, material and total required depth.
Use a vibrating plate compactor to pass over the full area several times. Change direction between passes so the material is compacted evenly.
Pay close attention to the edges, corners and areas near walls. These sections are sometimes missed and may sink later.
Check the Level During Compaction
After each layer, check the level and drainage fall. Fill any low spots and compact them again.
Do not continue if the base feels soft or moves underfoot. Find the cause before adding more material. The problem may be weak soil, trapped water, poor drainage or insufficient compaction.
The completed base should feel firm and stable. It should support walking without leaving deep footprints.
When learning
how to gravel a driveway, remember that proper compaction cannot be replaced by simply adding more decorative gravel. Thick loose gravel over a weak base will still move and sink.
How Deep Should Driveway Gravel Be?
The correct depth depends on the ground, vehicle type and construction method.
For many domestic driveways, the compacted sub base may be around 100 to 150 mm deep. Ground that is very soft, wet or unstable may need a deeper engineered base.
The decorative gravel layer is usually around 40 to 50 mm. This is deep enough to cover the base but not so deep that tyres sink heavily into loose stones.
Using too little gravel can expose the base and create bare patches. Using too much can make the surface difficult to walk or drive across.
The gravel should normally be deep enough to cover any stabilisation grid. Follow the grid manufacturer’s instructions because different systems require different installation depths.
Example Driveway Build Up
A typical domestic gravel driveway may include:
- Prepared and compacted formation ground
- A strong geotextile membrane
- Approximately 100 to 150 mm of compacted MOT Type 1
- A gravel stabilisation grid where required
- Approximately 40 to 50 mm of decorative gravel
This is only a general example. Site conditions should always determine the final specification.
A driveway used by heavy vans, caravans or commercial vehicles may require a stronger design than one used by a small family car.
Best Gravel Types for Driveways
Not every type of stone is suitable for vehicle traffic.
Angular gravel is normally better than smooth rounded gravel. The sharp and uneven edges help the pieces lock together, creating a more stable surface.
Rounded pea gravel can look attractive, but it moves easily under tyres and feet. It may be more suitable for decorative garden areas than a busy driveway.
Recommended Gravel Size
Gravel measuring around 14 to 20 mm is commonly chosen for domestic driveways. Stones that are too small can become trapped in tyre treads and may move more easily.
Very large stones can be uncomfortable to walk on and may create an uneven surface. The ideal size depends on the appearance, vehicle use and any stabilisation system.
Popular Driveway Gravel Options
Crushed limestone can create a clean and practical surface. It often compacts well and suits many modern and traditional homes.
Granite gravel is strong and available in several colours. It can work well for driveways with regular vehicle movement.
Flint gravel provides a natural appearance and is often chosen for traditional properties.
Basalt or dark stone can create a modern look and provide a strong contrast against lighter walls and paving.
Golden gravel can add warmth to the entrance of a home, but the exact colour may change when wet.
Choose stone that is sold for driveway use. Decorative garden chippings may not be strong or stable enough for regular traffic.
It is also helpful to view a sample in dry and wet conditions. Gravel often appears darker after rain, which matters in Bradford and other parts of West Yorkshire where surfaces may stay damp for long periods.
How to Lay the Final Gravel Layer
Once the compacted base and edging are complete, the decorative gravel can be installed.
Move the gravel across the driveway in small loads. Avoid tipping one large pile in a single location because this can make spreading difficult and may damage the prepared surface.
Use a landscaping rake to spread the gravel evenly. Work from one side to the other and keep checking the depth.
Do not create deep areas near the entrance, gates or garage doors. Gravel in these locations can prevent gates from opening and may be pushed into the garage.
After spreading, lightly compact or settle the surface if suitable for the chosen material. Some decorative gravel should remain loose, while the supporting layer underneath should be firm.
Drive slowly across the area several times, then inspect the surface. Tyres may reveal low spots or areas where more gravel is needed.
Understanding this final stage is an important part of
how to gravel a driveway properly. The gravel should look even, feel controlled and remain contained by the edging.
How to Stop Gravel Moving
Some gravel movement is normal, but good design can reduce it.
Use Angular Stone
Angular gravel locks together better than smooth, rounded stone. This reduces rolling and spreading.
Keep the Correct Depth
Deep loose gravel moves more than a controlled 40 to 50 mm layer. Avoid adding large amounts just to hide a weak base.
Install Solid Edging
Strong edging contains the gravel and protects the sides of the driveway.
Add a Gravel Stabilisation Grid
A stabilisation grid contains the gravel in individual cells. This can reduce movement, tyre ruts and low areas.
Grids can be especially useful on turning areas, frequently used entrances and driveways with a gentle slope.
The ground and base must still be prepared properly. A grid placed over soft or unstable ground will not solve the underlying problem.
Create a Firm Entrance
The entrance often loses the most gravel because tyres turn, brake and carry stones towards the road.
A block paving apron, stone threshold or suitable retention system can help keep gravel inside the property.
Drive Smoothly
Fast acceleration, sharp turning and sudden braking can move loose stones. Slow vehicle movement helps maintain an even surface.
How to Clean and Maintain a Gravel Driveway
A gravel driveway needs regular light care. Small maintenance tasks are easier and cheaper than allowing the surface to become badly rutted, dirty or overgrown.
Rake the Surface
Rake the gravel when you notice tyre tracks, low areas or small piles. Move stones from high points into lower sections.
Regular raking also helps break up compacted surface dirt and keeps the entrance looking neat.
Remove Leaves and Organic Waste
Leaves, twigs, moss and soil can collect between the stones. As they break down, they create material in which weeds can grow.
Use a leaf blower on a low setting or carefully rake the surface. A strong blower may move smaller gravel, so test a small area first.
Control Weeds Early
Remove small weeds before they develop deep roots. Hand pulling is often enough for isolated growth.
For larger problems, use an appropriate treatment and follow all safety instructions. Protect neighbouring plants, drains and water sources.
Fill Low Areas
Low areas can collect water and trap dirt. Add suitable gravel and check the condition of the base below.
If the same area repeatedly sinks, adding surface gravel may only hide the problem. The base may need to be opened, repaired and compacted again.
Repair Potholes Properly
Do not fill a deep pothole with decorative gravel alone.
Remove loose material from the damaged area and check for soft ground or standing water. Add suitable sub base material in layers, compact it and replace the top gravel.
Top Up the Gravel
Some stone will gradually move or become lost. A light top up may be needed every few years, depending on traffic and maintenance.
Try to use the same size and colour as the existing stone. Mixing very different materials can create an uneven appearance and surface.
Avoid Aggressive Pressure Washing
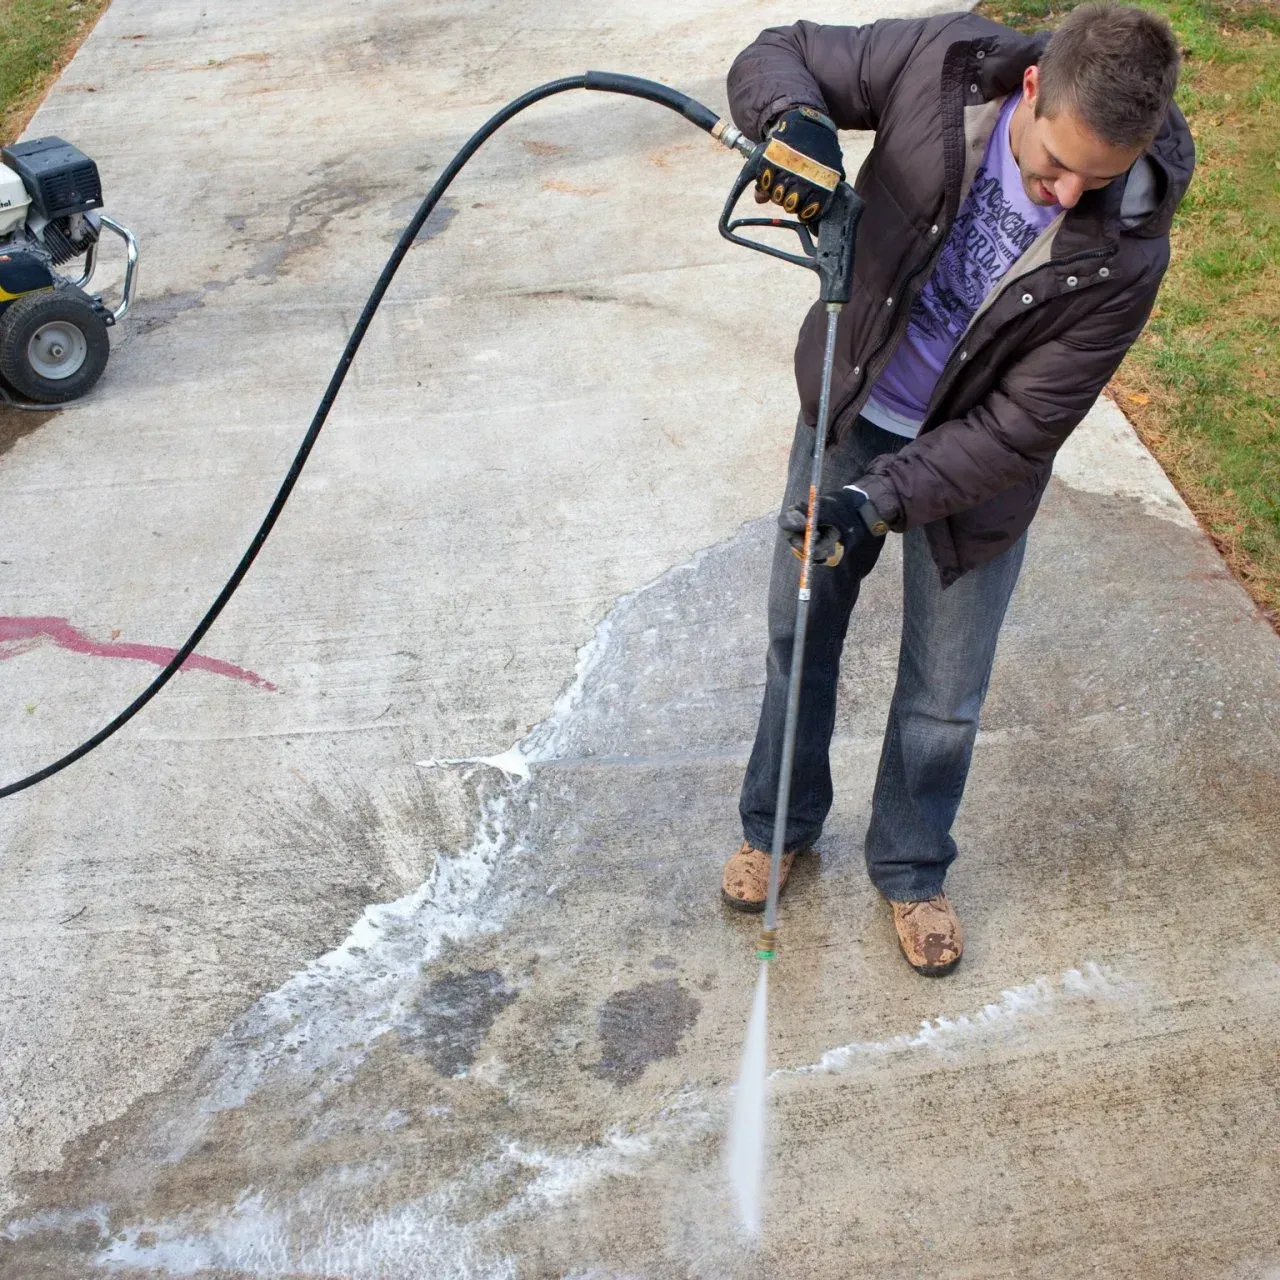
Pressure washing loose gravel can throw stones, disturb the surface and create a safety risk. It can also wash fine material out of the base.
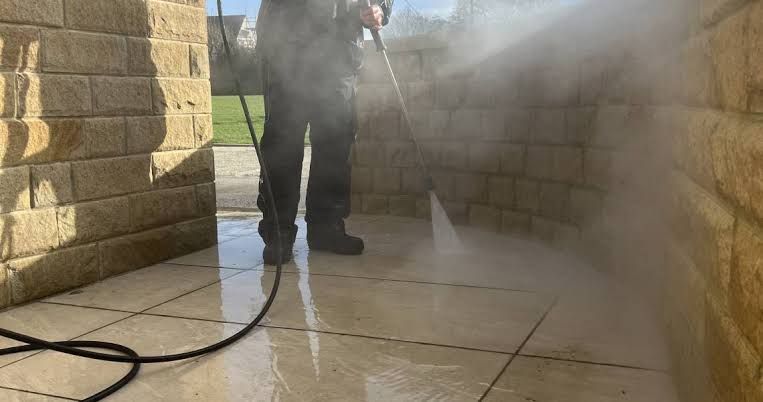
Use careful manual cleaning methods for the gravel itself. Professional pressure washing may be suitable for surrounding solid paving, walls, paths and entrance areas, but the gravel section requires a different approach.
Common Gravel Driveway Problems
Learning how to gravel a driveway also means understanding what can go wrong.
Gravel Sinking Into the Soil
This normally happens when there is no suitable membrane, the base is too thin or the ground was not compacted.
The repair may require removing the gravel, rebuilding the base and adding a proper separation membrane.
Water Pooling on the Surface
Puddles may be caused by low areas, compacted fine material, blocked drainage or an incorrect fall.
Raking the top layer may help with minor issues. Repeated standing water normally requires investigation below the surface.
Deep Tyre Ruts
Ruts can develop when the gravel is too deep, the base is weak or vehicles repeatedly follow the same line.
Redistribute the gravel and check the base. A stabilisation grid may help in busy areas.
Gravel Spreading Onto the Road
This can happen when there is no entrance threshold, the gravel is too small or vehicles turn sharply near the boundary.
Install a suitable retention edge and sweep loose stones back onto the property.
Heavy Weed Growth
Weeds often become worse when leaves, soil and organic waste are allowed to collect.
Remove the growth, clean the surface and improve regular maintenance. Where weeds are growing from below, the membrane may be damaged or missing.
When to Clean Surrounding Paving and Paths
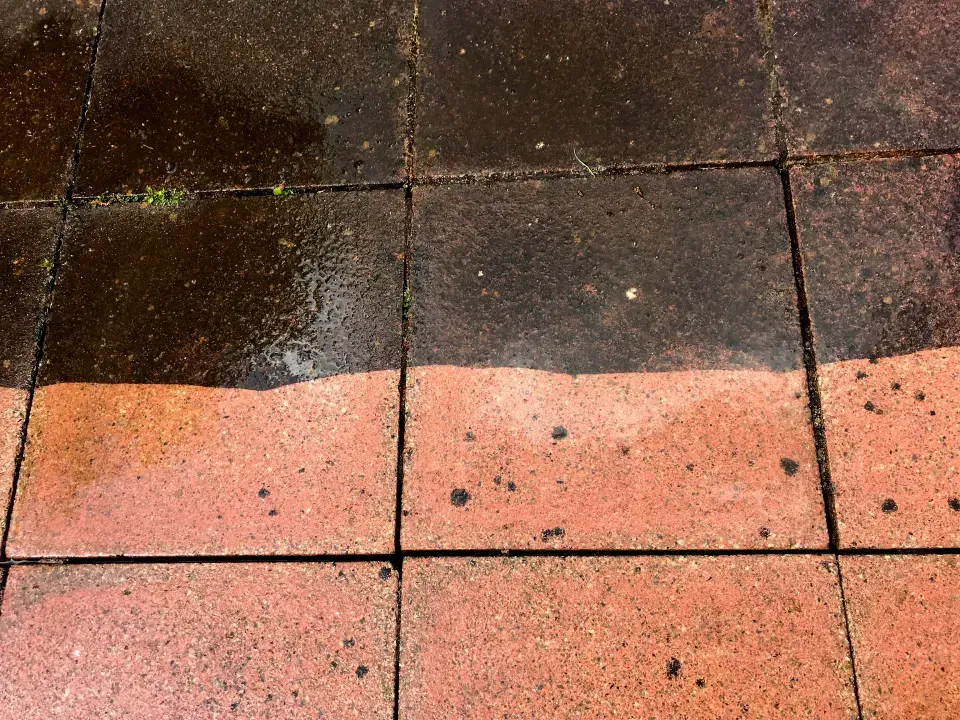
A newly gravelled driveway can make nearby paving look dull by comparison. Paths, patios, stone steps and entrance slabs may have moss, algae, dirt, black spots or tyre marks.
Cleaning these surfaces can give the entire front of the property a more complete finish.
Solid paving around a gravel driveway may need cleaning when it becomes slippery, green or heavily stained. This is especially important on shaded paths and steps.
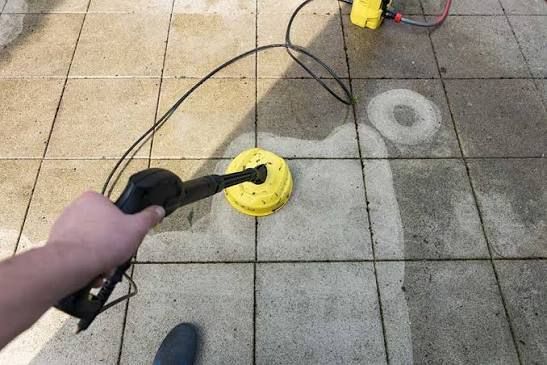
Different paving materials require different pressure levels and cleaning methods. Sandstone, concrete, block paving and natural stone should not all be treated in the same way.
For professional surface care, visit the driveway cleaning page from Jimmy's External Cleaning Services.
Garden seating areas can also collect moss, algae and weather marks. The patio cleaning service can help restore patios and outdoor living spaces without treating every material with the same method.
Stone walls, entrance features and other masonry may need a gentler approach. More information is available on the stone cleaning page.
Should You Clean Before Installing Gravel?
Yes. Cleaning and clearing the area before installation is essential.
Old paving, concrete edges or entrance blocks may be covered with soil, moss and weeds. These should be cleaned so their condition can be checked.
Drainage channels should also be cleared before the new driveway is completed. A blocked drain may cause water to flow through the gravel and damage the base.
If existing paths or paving will remain beside the new driveway, cleaning them before spreading the final gravel can reduce the chance of dirty water and waste entering the new surface.
Should You Clean After Installing Gravel?
Some cleaning may be needed after construction because excavation and material delivery can leave soil, dust and tyre marks on nearby surfaces.
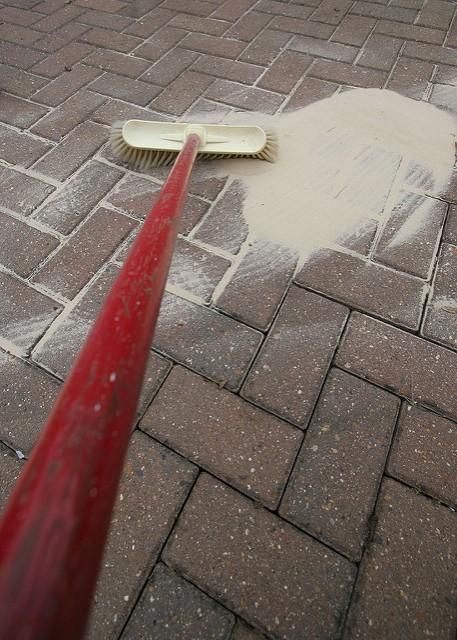
Clean solid paths, paving, walls and road edges carefully. Avoid directing high pressure water towards the loose gravel.
Sweep any stones that have reached the public pavement or road. Loose gravel outside the property can create a hazard and should be returned to the driveway promptly.
Driveway Care in Bradford
Bradford properties experience regular rain, damp conditions, falling leaves and seasonal cold weather. These conditions can affect gravel driveways, paths and surrounding paving.
Moisture can encourage moss and algae on solid edges, shaded paths and drainage channels. Leaves can break down between gravel stones and create a base for weed growth.
Regular maintenance is therefore important. Rake the gravel, clear leaves, inspect drainage and remove weeds before they spread.
Homes in older parts of Bradford may have stone walls, traditional paving and narrow driveway entrances. Careful material selection can help the new gravel match the character of the property.
Jimmy's External Cleaning Services supports homeowners who need professional driveway, patio, paving and stone cleaning in Bradford. Cleaning the surrounding hard surfaces can improve the appearance of a gravel driveway and help the whole entrance feel properly maintained.
Gravel Driveway Care in Bingley
Bingley has a mixture of traditional stone homes, larger gardens and modern residential properties. Gravel can suit many of these homes when the colour and size are chosen carefully.
Properties near trees may experience heavier leaf fall. Regular debris removal can reduce surface weeds and blocked drainage.
Sloping entrances require particular care. Strong edging and a stabilisation grid may help reduce movement.
Gravel Driveway Care in Shipley
Driveways in Shipley may be affected by regular traffic dirt, damp shade and limited entrance space.
A secure threshold is useful where the gravel driveway meets a pavement or busy road. It helps prevent loose stone spreading beyond the property.
Surrounding block paving and paths should be cleaned when moss or algae makes them slippery.
Gravel Driveway Care in Keighley
Keighley has many properties exposed to wet and changing weather. Good drainage and a strong compacted base are especially important.
Water should not be allowed to flow from higher ground and wash through the gravel. Channels or additional drainage may be necessary on some properties.
Leaves, mud and organic waste should be removed regularly to keep the driveway fresh.
Gravel Driveway Care in Pudsey
Gravel can provide a practical entrance for homes across Pudsey, but the driveway must be prepared for regular vehicle use.
Turning areas and narrow entrances often experience the most movement. Stabilisation grids and firm edging can help control the gravel.
Cleaning neighbouring patios, stone walls and paved paths can also improve the overall appearance of the property.
When to Call a Professional
Some homeowners can complete a small gravel driveway themselves. However, professional support may be sensible when the ground is soft, the driveway is large or drainage is difficult.
Consider getting expert help when:
- The driveway has a steep slope
- Water flows towards the house
- The ground remains wet or soft
- Heavy vehicles will use the area
- Underground services may be present
- Large amounts of soil need removing
- Retaining walls or drainage channels are required
- The driveway repeatedly sinks or develops potholes
Professional installation may cost more at the beginning, but correcting a failed driveway can be much more expensive.
For cleaning work around the finished driveway, Jimmy's External Cleaning Services can assess the surface type and choose a suitable method. This is useful when paving, patios, stonework or entrance areas need professional attention.
How Long Does a Gravel Driveway Last?
A properly constructed gravel driveway can remain useful for many years. Its exact lifespan depends on the base, drainage, traffic, stone quality and maintenance.
The decorative gravel may need occasional topping up. Edges may need adjustment and isolated low areas may require repair.
A strong base can continue supporting the driveway even when the top layer needs refreshing. This is why preparation matters more than simply choosing attractive gravel.
How Much Does a Gravel Driveway Cost?
The cost depends on the driveway size, excavation depth, waste removal, drainage, edging, sub base, membrane, gravel type and access for machinery.
A small, level driveway with firm ground may cost less than a large sloping area with poor drainage.
Decorative stone also varies in price. Locally available gravel may cost less than specialist material transported over a long distance.
When comparing quotes, check what is included. A low price may not include enough excavation, base material, compaction, edging or waste removal.
Frequently Asked Questions
What is the best way to learn how to gravel a driveway?
Start by understanding the ground preparation rather than focusing only on the decorative stone. Measure the area, plan drainage, excavate weak material, install edging, lay a membrane and compact a strong sub base before adding gravel.
Can I put gravel directly over soil?
Gravel should not normally be placed directly over soil for a vehicle driveway. The stones may sink, mix with mud and develop deep ruts. A suitable membrane and compacted sub base create a much stronger surface.
Can I put new gravel over an old gravel driveway?
You can add new gravel if the old driveway has a firm base and good drainage. First remove weeds, leaves, soil and contaminated stone. Repair low areas before spreading the new layer.
How deep should gravel be on a driveway?
The decorative gravel is commonly around 40 to 50 mm deep. The compacted sub base below may be around 100 to 150 mm, depending on the ground and vehicle use.
What size gravel is best for a driveway?
Angular gravel around 14 to 20 mm is commonly suitable. It normally remains more stable than small or rounded stones.
Do I need a membrane under driveway gravel?
A suitable geotextile membrane is recommended. It helps separate the ground from the base and reduces weeds growing from below. It does not stop seeds landing and growing on the surface.
What should I use under gravel?
A compacted MOT Type 1 sub base is commonly used beneath a domestic gravel driveway. The required depth depends on the soil, drainage and expected traffic.
How do I stop gravel spreading onto the pavement?
Describe the item or answer the question so that site visitors who are interested get more information. You can emphasize this text with bullets, italics or bold, and add links.Are gravel grids worth using?
Gravel stabilisation grids can reduce movement, tyre ruts and low areas. They are useful on busy driveways, turning spaces and gentle slopes. They still need a properly prepared base.
Can I pressure wash a gravel driveway?
Pressure washing loose gravel is not recommended. The water can throw stones, remove fine base material and create uneven areas. Raking, weed removal and careful debris clearing are safer.
How often should I rake a gravel driveway?
Rake it whenever you see tyre tracks, piles or low areas. Light monthly checks can prevent small problems becoming more difficult to repair.
Understanding how to gravel a driveway means looking below the visible surface. Attractive stone alone cannot create a durable driveway.
The ground must be excavated correctly, weeds and organic material must be removed, drainage must be planned and strong edging must be installed. A compacted MOT Type 1 base provides support, while angular gravel creates a practical and attractive finish.
Regular raking, weed removal, drainage checks and occasional topping up will help the driveway remain level and tidy.
Homeowners searching for how to gravel a driveway should also consider the condition of nearby paths, patios and stone surfaces. Cleaning these areas can complete the improvement and make the whole property entrance look brighter.
For professional exterior surface cleaning in Bradford, Bingley, Shipley, Keighley and Pudsey, contact Jimmy's External Cleaning Services. The team can help restore driveway paving, patios, paths and stonework around your new gravel driveway.